HUGOは、静的なWebサイトを構築する静的サイトジェネレータのひとつです。
静的サイトジェネレータは、Markdownなどで書かれたファイルと静的なコンテンツのテンプレートをビルドしてHTMLを生成します。
HUGOはGolangで作られており、他の静的サイトジェネレータに比べて、HTMLへの変換の早さが特徴です。 このブログもHUGOを使って作成しています。
この記事では、HUGOのQuick Startをもとに、 HUGOでのWebサイト構築について説明します。
動作を確認した環境
- macOS Mojave 10.14.6
- Homebrew 2.1.11
- Git 2.23.0
- HUGO 0.58.2
HUGOのインストール
ここでは、macOSへのインストール方法を説明します。 他のOSでのインストールは、Install Hugoを確認してください。
HUGOはHomebrewで提供されているため、brewコマンドでインストールします。
brew install hugo
バージョンを表示してインストールできたかを確認します。 次のように、バージョン番号が表示されれば成功です。
$ hugo version
Hugo Static Site Generator v0.58.2/extended darwin/amd64 BuildDate: unknown
サイトの作成
hugo new siteコマンドで、サイトのプロジェクトを作成します。今回は「hugo-example」という名前のサイトを作成します。
$ hugo new site hugo-example
Congratulations! Your new Hugo site is created in /Users/chick-p/Workspace/hugo-example.

Just a few more steps and you're ready to go:

1. Download a theme into the same-named folder.
   Choose a theme from https://themes.gohugo.io/ or
   create your own with the "hugo new theme <THEMENAME>" command.
2. Perhaps you want to add some content. You can add single files
   with "hugo new <SECTIONNAME>/<FILENAME>.<FORMAT>".
3. Start the built-in live server via "hugo server".

Visit https://gohugo.io/ for quickstart guide and full documentation.
hugo-exampleというディレクトリとその下にファイル群が作成されます。
$ tree hugo-example
hugo-example # ... HUGOのファイル群
├── archetypes
│   └── default.md
├── config.toml
├── content
├── data
├── layouts
├── static
└── themes
テーマの追加
このままでは静的なコンテンツを生成するためのテンプレートファイルがなく、ビルドできないためテーマを追加します。
テーマファイルは自分で作ることもできますが、ここでは公開されているテーマのひとつ、Ananke themeを使います。 Hugo Themesにさまざまなテーマが公開されています。
テーマはGitのsubmoduleとして追加します。
# HUGOプロジェクトのルートディレクトリに移動
cd hugo-example
# Gitの初期化とコミット作成
git init
git add .
git commit -m "first commit"
# themesディレクトリ以下に テーマファイルを追加
git submodule add https://github.com/budparr/gohugo-theme-ananke.git themes/ananke

# 確認
$ tree .
.
├── archetypes
│   └── default.md
├── config.toml
├── content
├── data
├── layouts
├── static
└── themes
    └── ananke # ... 追加したテーマ
プロジェクトのルートディレクトリ直下の設定ファイルconfig.tomlにテーマの設定を追加します。
# テーマの設定
echo 'theme = "ananke"' >> config.toml
config.tomlの中身です。themeにテーマ名を指定することで、ビルドするテーマを指定できます。
baseURL = "https://example.org/"
languageCode = "en-us"
title = "My New Hugo Site"
theme = "ananke"
コンテンツファイルの追加
記事となるコンテンツファイルを追加します。
contentディレクトリの下に記事ファイルを追加します。
また
hugo new セクション名/ファイル名コマンドで、contentディレクトリの下にセクションのカテゴリを作り、ファイルを追加します。
hugo newコマンドで、postsというセクションでファイルを追加します。
# コンテンツファイルの作成
hugo new posts/my-first-posts.md

# 確認
$ tree .
.
├── ...
├── content
│   └── posts
│       └── my-first-posts.md # 追加したコンテンツファイル
├── ...
content/posts/my-first-posts.mdの中身です。
記事の生成に必要な独自変数がついた形でファイルが生成されています。
---
title: "My First posts"
date:  2019-09-30
category: "blog"
draft: true
---
|変数名 |値 |:--|:-- |title |記事タイトル |date |記事の日付 |draft |下書きフラグ
記事の内容は、こんな風に「---」(Front Matter)より下に追記していきます。
---
title: "My First postss"
date:  2019-09-30
category: "blog"
draft: true
---

## 概要
ここは概要です。
Markdown 形式で書いていけば、いい感じに記事ができます。
ローカルサーバーでの確認
ローカルにHUGOサーバーを立ち上げ、サイトを確認します。
-Dオプションを付けると、下書きの記事(draftがtrueのファイル)を含めてビルドします。
# サーバーの立ち上げ
hugo serve -D
http://localhost:1313/にアクセスし、サイトを確認します。
次のようなページが表示されれば成功です。
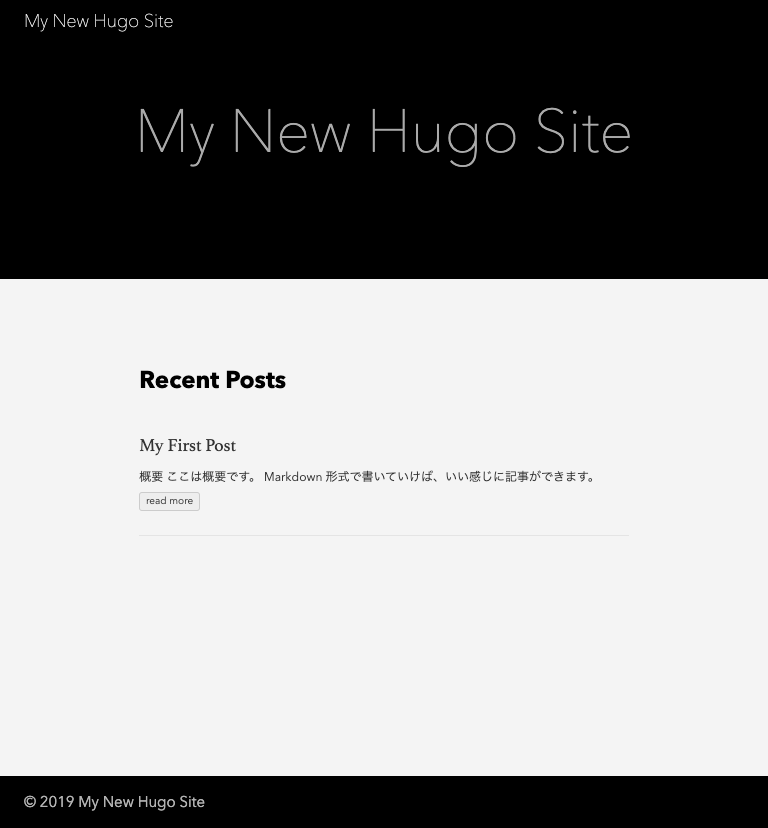
静的ファイルの生成
次のコマンドで、publicディレクトリ直下にHTMLファイルを生成できます。
# 静的ファイルを生成
hugo

# 確認
$ tree .
.
├── ...
├── public
│   ├── 404.html
│   ├── categories
│   │   ├── index.html
│   │   └── index.xml
│   ├── dist
│   │   ├── css
│   │   │   └── app.d98f2eb6bcd1eaedb7edf166bd16af26.css
│   │   └── js
│   │       └── app.3fc0f988d21662902933.js
│   ├── images
│   │   └── gohugo-default-sample-hero-image.jpg
│   ├── index.html
│   ├── index.xml
│   ├── sitemap.xml
│   └── tags
│       ├── index.html
│       └── index.xml
├── ...
まとめ
HUGOを使うとMarkdown形式のファイルで記事を生成でき、かつローカルサーバーで動作確認できます。 生成した静的ファイル一式をS3などのストレージサービスに配置しホスティングすれば、簡単にサイトを公開できます。